Examine / Fundoscopy Lab
Find the disc. Follow the vessels. Locate the macula.
Orientation first: on a real photograph, click the disc, then the arcades, then the macula, and learn which eye you are looking at. Then the systematic description, and normal beside abnormal. The diagnosis waits in the atlas until you have described what you see.
Orientation drills
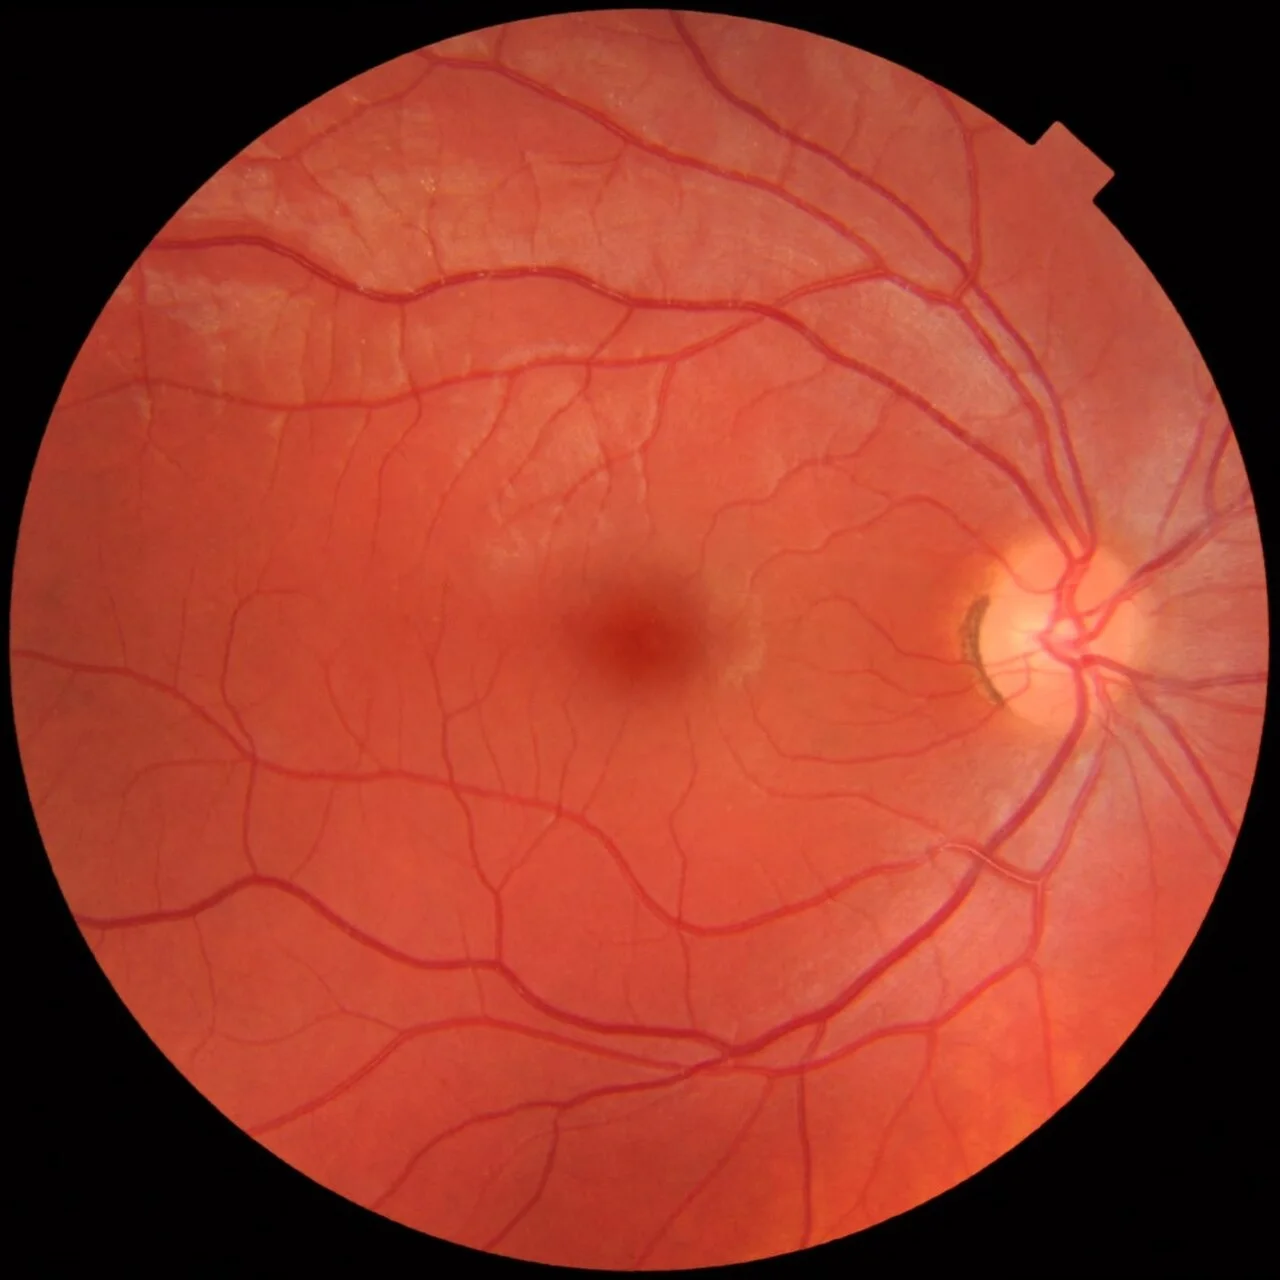
Mikael Häggström, CC0, source. Clinical colour unaltered.
Orient
Click the optic disc
Landmark 1 of 4. Zoom and pan if you need to; the click is judged against where it really is.
Direct ophthalmoscopy, step by step
01 / Set up
Dim the room. Dilate if you can. Your right eye to the patient's right eye, your left to their left, so noses do not meet. Ask the patient to fix on a distant point and keep fixing even when your head gets in the way.
02 / The red reflex
From an arm's length, dial in a plus lens and look through the ophthalmoscope at the pupil: a red glow. A black shadow in it is an opacity in the media, a cataract or a vitreous haemorrhage; a white reflex in a child is an emergency.
03 / Approach
Come in at about fifteen degrees temporal to the line of sight, close to the eye, dialling the lens towards zero until the retina is sharp. Coming in from the temporal side lands you near the disc.
04 / Find the disc
If you land on vessels, follow them: their branching points, like arrows, point back to the disc. Describe the disc before anything else: margin, colour, cup, and the vessels emerging from it.
05 / Follow the vessels
Trace each of the four arcades out from the disc as far as you can see. Note calibre, crossings, tortuosity, sheathing, and anything beside them: haemorrhage, exudate, cotton wool spots.
06 / Locate the macula
Ask the patient to look straight into the light. The macula is two disc diameters temporal to the disc: darker, vessel-free, a pinpoint reflex at the fovea in a young eye.
07 / The periphery
Ask the patient to look up, down, left and right, and follow. The direct ophthalmoscope sees little of the periphery; the indirect and the widefield camera see it all.
Normal beside abnormal
Every comparison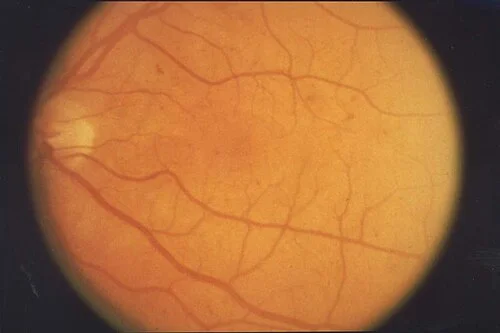
Interpret
Read the fundus
The systematic search pattern, the atlas, the disc description tool.
Practice
Describe the disc
Margins, colour, cup, swelling, haemorrhage, vessels: build the sentence.
Atlas
Every fundus photograph
Four reveal states, a graded case behind each.