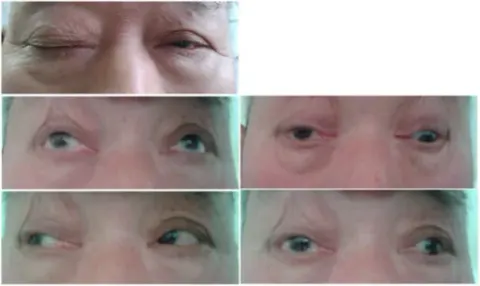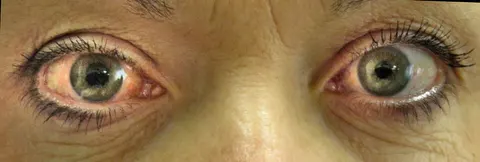
A Mediverse platform/Interactive ophthalmology

SEE. EXAMINE. DIAGNOSE.

Model: BodyParts3D, (c) The Database Center for Life Science, CC BY-SA 2.1 Japan. Notice

The eye is the interface.
Every layer opens the clinic behind it.

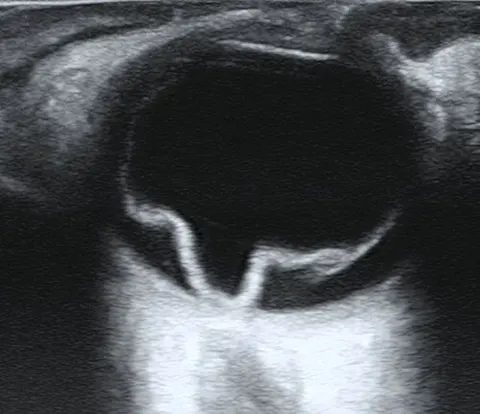
Real photographs, real scans and a real anatomical model, arranged the way the eye is examined: from the surface inwards, from the symptom to the finding, from the finding to the decision.

verified images
132
labs and drills
14
presentation pathways
8

02 / Examine

Learn how the exam actually works

The whole exam, in order
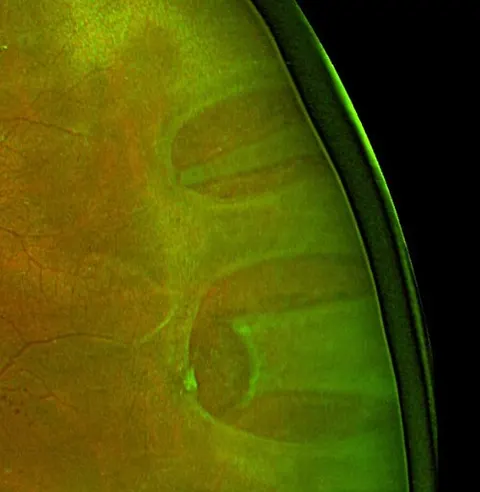
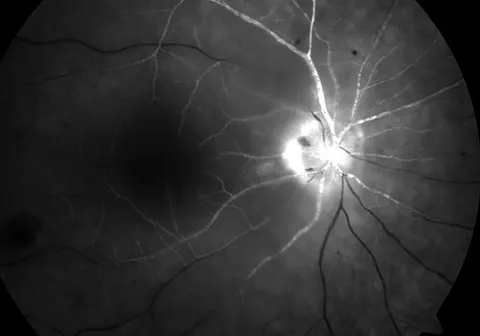
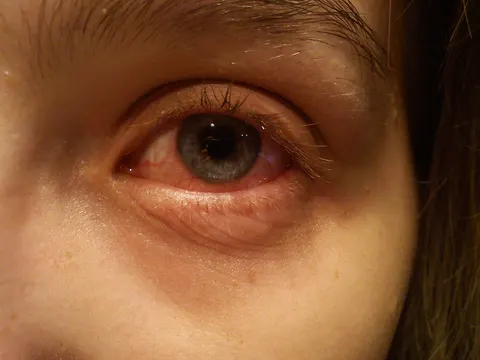
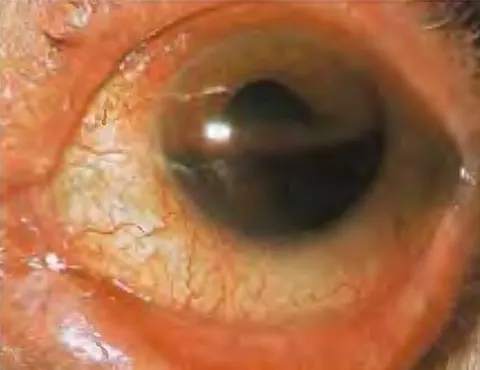
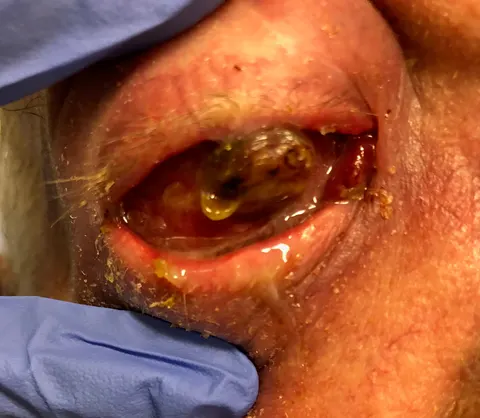
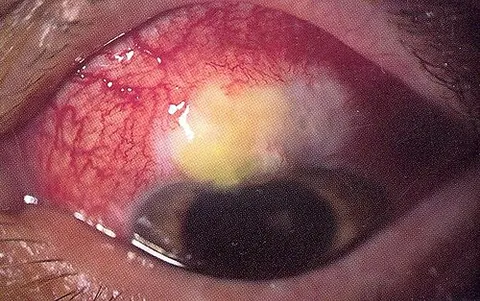
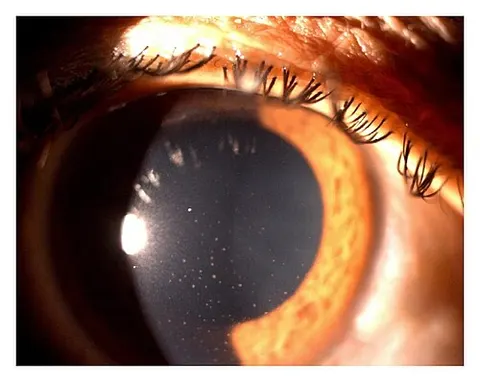
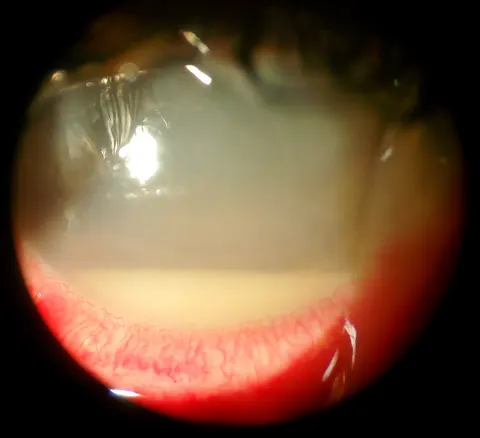
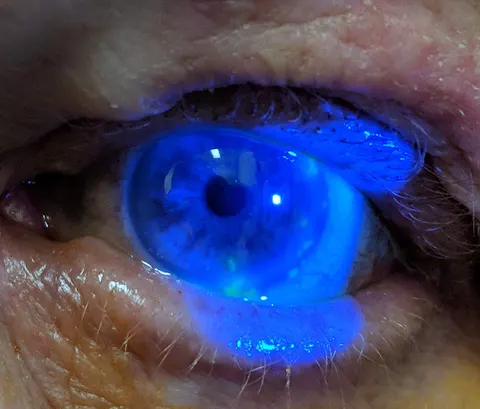
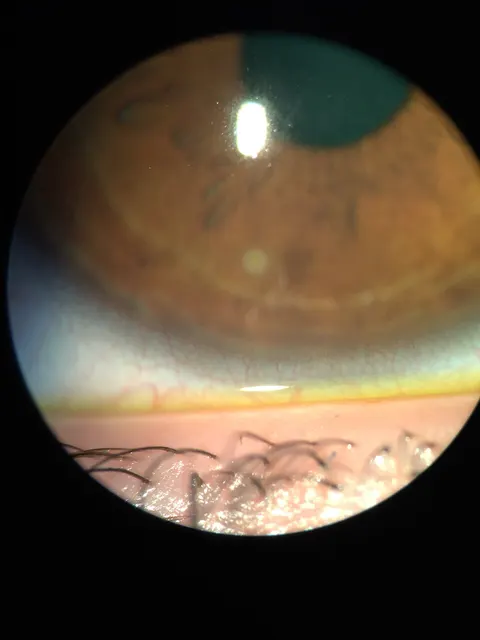
slit lamp image, diagnosis hiddenslit lamp image, diagnosis hiddenslit lamp image, diagnosis hiddenslit lamp image, diagnosis hidden

02 / Slit Lamp Lab

Control the beam. Examine the eye. Find the pathology.

Beam width, angle, height and intensity, magnification and the cobalt blue filter, on real anterior segment photographs. Learn the illumination techniques, then examine a case.

Enter the slit lamp
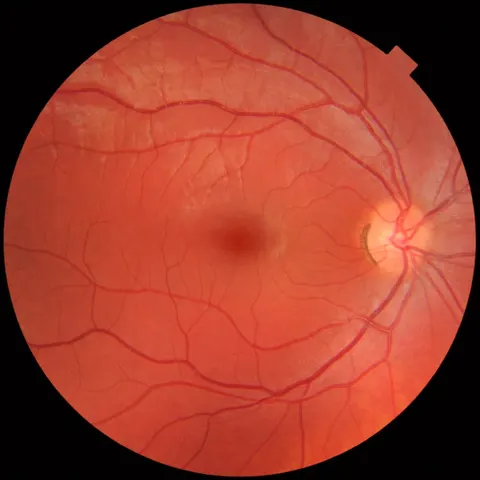
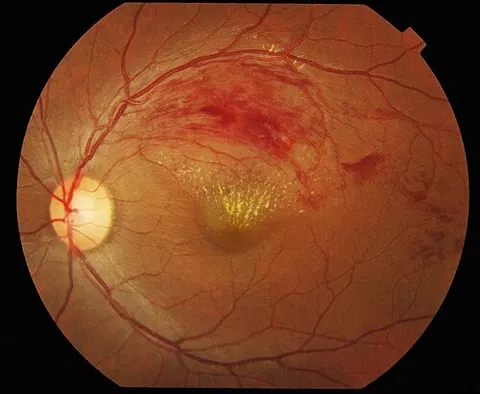
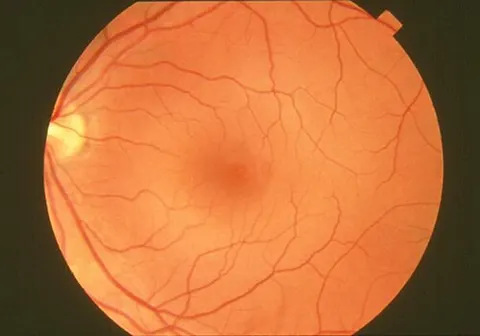
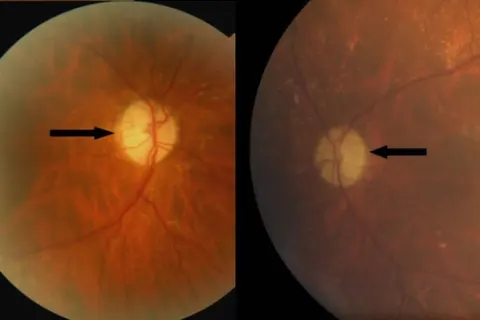
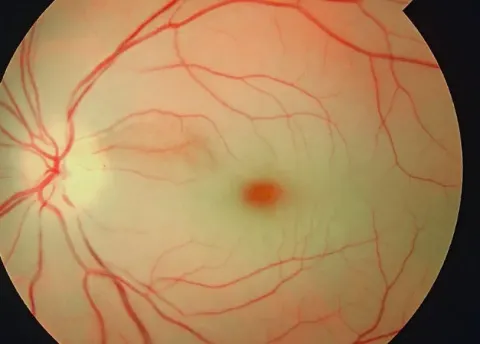
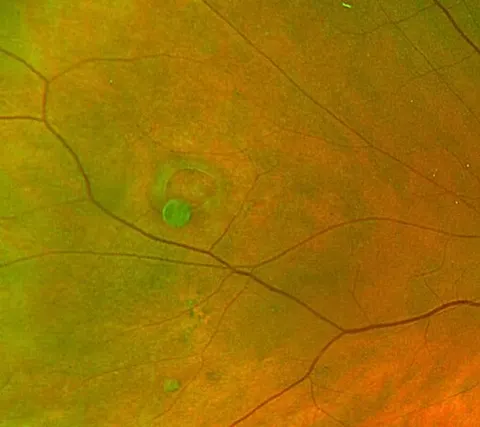
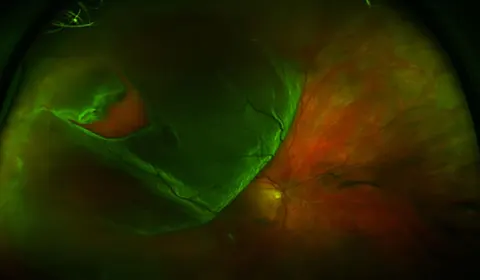
color fundus image, diagnosis hiddencolor fundus image, diagnosis hiddencolor fundus image, diagnosis hiddencolor fundus image, diagnosis hidden

03 / Fundoscopy Lab

Find the disc. Follow the vessels. Locate the macula.

A systematic sweep of the fundus on real photographs: orient, describe, then identify what is abnormal, with normal and abnormal side by side.

Enter fundoscopy

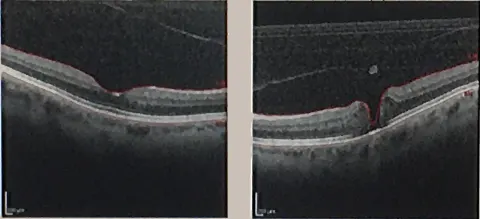
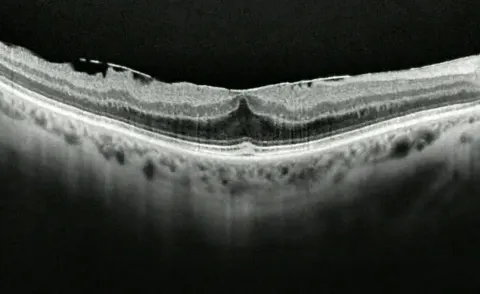
04 / Interpret

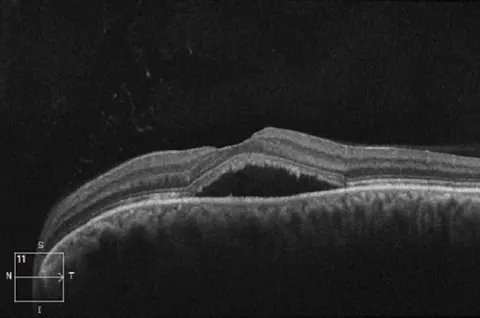
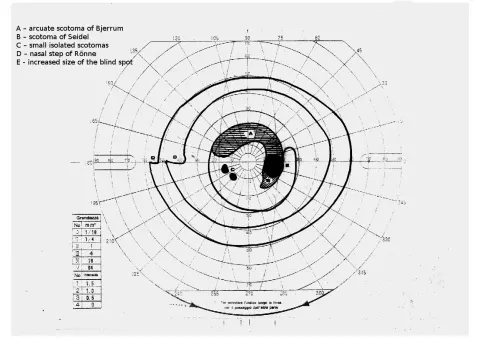
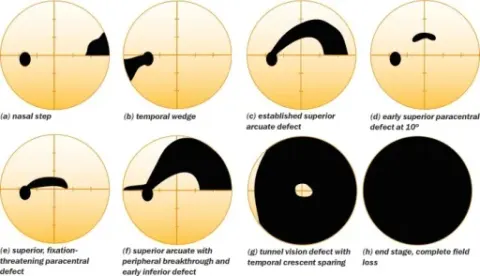
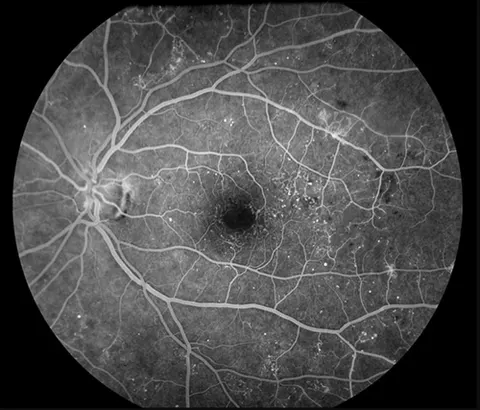
See the retina. Read the scan. Localise the loss.

The whole atlas, 132 real images

05 / Clinical presentations

Start from the symptom, the way the patient does

All 8 pathways
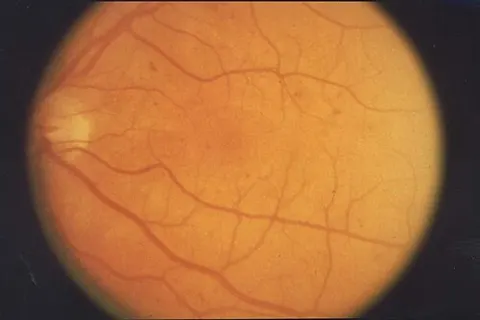
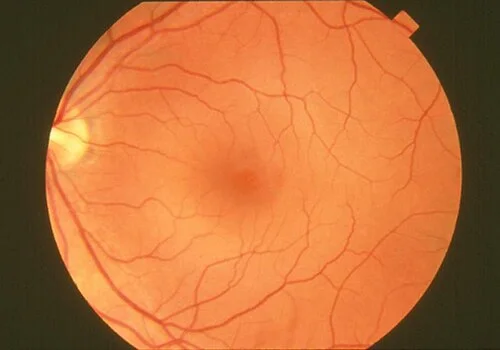
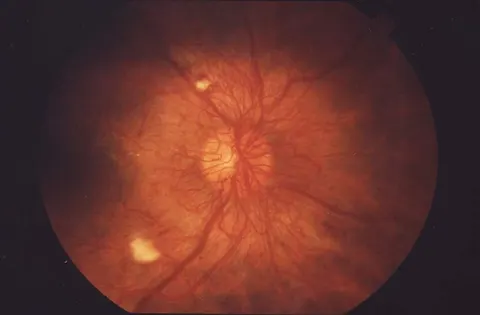
color fundus image, diagnosis hidden

07 / Featured case

Fundus photograph before a hypertension clinic review

A 55-year-old with treated hypertension, asymptomatic, sent for baseline retinal photography.

A real color fundus image. The diagnosis stays hidden until you commit.

What do you see?

You learn ophthalmology by learning how to look.

See it. Describe it. Understand it. Act on it. Every part of OphthoSpace is built around that order.